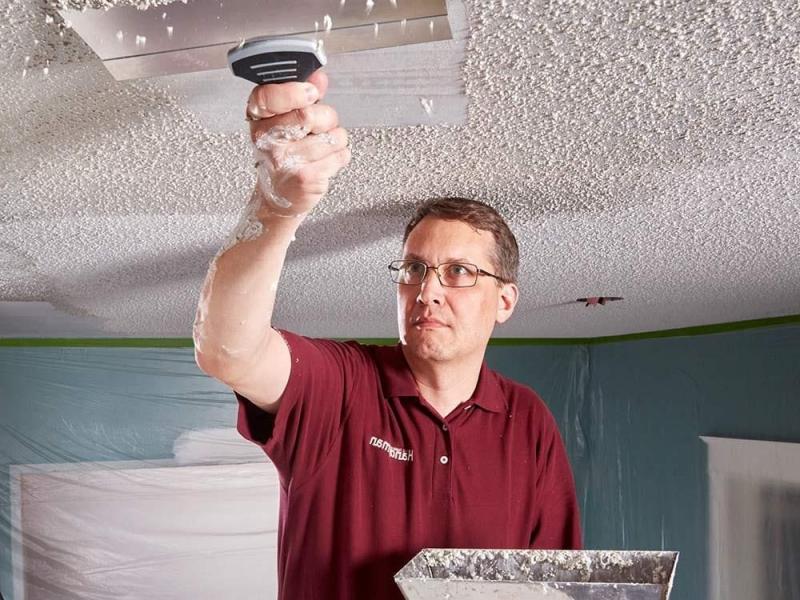
Removing Popcorn Ceilings: A Comprehensive Guide
Popcorn ceilings, also known as stucco or acoustic ceilings, were a popular design choice from the 1950s through the 1980s due to their ability to hide imperfections and absorb sound. However, modern design trends favor smooth, sleek ceilings, and many homeowners are opting to remove stucco for a cleaner look. If you’re considering this home improvement project, here's a detailed guide on how to remove popcorn ceilings efficiently and safely.
Preparation
Safety First
Before starting the removal process https://celebrow.org/home-improvement/popcorn-ceiling-removal-and-modernization-strategies/, it's crucial to check if your popcorn ceiling contains asbestos, especially if it was installed before the 1980s. Asbestos is a hazardous material, and disturbing it can release harmful fibers into the air. You can purchase an asbestos testing kit or hire a professional to test a small sample of your ceiling.

Gather Necessary Tools and Materials
- Plastic sheeting and painter’s tape
- Protective gear (goggles, gloves, dust mask or respirator)
- Spray bottle filled with water
- Putty knife or drywall scraper
- Joint compound and putty knife (for touch-ups)
- Sanding block or pole sander
- Primer and paint (optional)
Room Preparation
Remove all furniture and cover the floors and walls with plastic sheeting to protect them from debris and water. Use painter’s tape to secure the plastic sheeting. Turn off the HVAC system to prevent dust from spreading throughout your home.
Removal Process
Step 1: Moisten the Ceiling
Fill a spray bottle with water and lightly mist a 4-6 foot square section of the ceiling. Allow the water to penetrate the popcorn texture for about 15 minutes. This will soften the material and make it easier to scrape off. Be careful not to oversaturate, as too much water can damage the drywall underneath.
Step 2: Scrape the Popcorn Texture
Using a putty knife or drywall scraper, gently scrape off the popcorn texture from the moistened section. Hold the scraper at a shallow angle to avoid gouging the drywall. Collect the debris in a bag or let it fall onto the plastic sheeting for easy cleanup. Repeat this process, working in small sections, until the entire ceiling is free of the popcorn texture.
Step 3: Repair and Smooth the Ceiling
After removing the popcorn texture, inspect the ceiling for any damage or imperfections. Use joint compound and a putty knife to fill in any dents, holes, or uneven areas. Once the compound is dry, sand the ceiling smooth using a sanding block or pole sander.
Step 4: Prime and Paint (Optional)
If you prefer a polished look, apply a coat of primer to the ceiling, followed by your chosen paint color. This step is optional but recommended for a finished appearance.
Post-Removal Cleanup
Carefully remove and dispose of the plastic sheeting and any debris. Clean the area thoroughly to ensure no dust or residue remains. Open windows and use fans to ventilate the room and help dry any moisture.
Conclusion
Removing a popcorn ceiling can be a labor-intensive project, but the results are well worth the effort. A smooth, modern ceiling can significantly enhance the look and feel of your home. Remember to prioritize safety by testing for asbestos and using appropriate protective gear. With the right tools and a bit of patience, you can successfully transform your outdated ceiling into a contemporary masterpiece.
